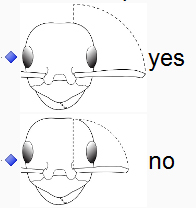
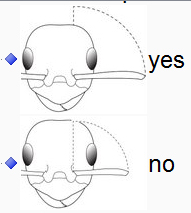
One of the greatest assets of the Lucid3 software is its capacity to integrate thumbnails of images inserted for character states, features and taxa. Once you insert a full-size image as media, Lucid3 automatically generates a thumbnail. The default thumbnail size is 125×125 pixels, but the user can customize it in Lucid Builder. The resulting thumbnails, however, are rather low quality, and can be significantly improved by using a third party application. I use Picasa to generate my thumbnails, but I am sure there are many other programs that will do just as fine a job. So, here’s how I do it.
1. Locate your thumbnail folder in Key folder > Media > Thumbs. Remember not to change the names or structure of the files within the key folder, because this will have nasty consequences. Notice how all of the thumbnails have the “_TN.jpg” suffix appended to the filename.
2. Copy the ‘Thumbs’ folder to some safe holding space like the desktop to serve as a backup in case things go wrong.
3. Delete all of the images within the ‘Thumbs’ folder.
4. Open the application you plan to use for generating the new and improved thumbnails. In my case, I use Picasa.
5. Open the ‘Images’ folder (Key folder > Media > Images), select all the files, then export them to a new folder (e.g. ‘New Thumbnails’) as 125×125 pixel jpeg’s (or whatever size you’ve customized your key to use).
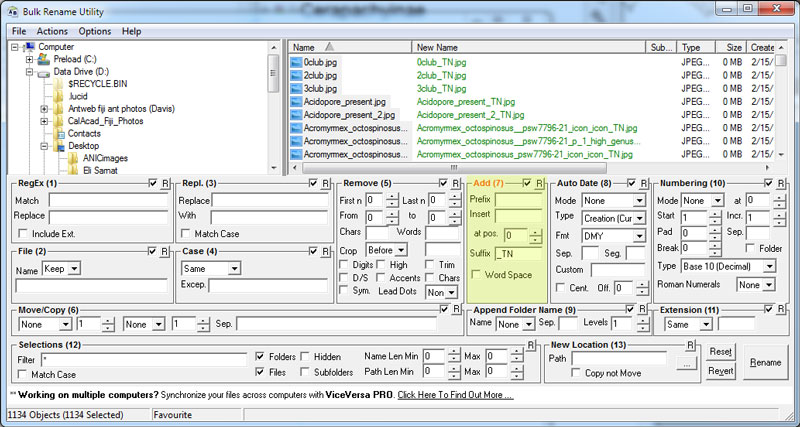
6. Now we need to append the ‘_TN’ suffix to the new thumbnails. I use a program called ‘Bulk Rename Utility‘. Open the ‘New Thumbnails’ folder in Bulk Rename Utility. Select all the files. Type ‘_TN’ into the Suffix form of the Add box. Make sure all the files have “_TN.jpg” at the end of them in the ‘New Name’ column. Press ‘Rename’.
7. Copy all the updated thumbnail files from the ‘New Thumbnails’ folder into the ‘Thumbs’ folder (Key folder > Media > Thumbs).
8. Reload your key in Builder and check for any missing thumbnails. If you find a missing thumbnail, check the file path in the media tab, and then search your ‘Thumbs’ folder for the same filename. Often I find that I need to insert a ‘_1’ before the ‘_TN’ because I’ve accidentally imported multiple copies of the same full size image into Builder, which then automatically appends the ‘_1’ to full size image in the ‘Images’ folder.
Well, the jpeg’s published here do not quite do justice to the difference in quality, but rest assured that replacing the original thumbnails with your own will dramatically improve the aesthetic and quality of your key’s media.


Leave a Reply